Screenshot Testing: The Complete Guide
What screenshot testing is, how it works, and how to set it up: capture strategies, baseline management, CI integration, and the best tools in 2026.

Screenshot testing is an automated testing technique that captures images of your application's UI, compares them pixel by pixel against approved baseline images, and flags any visual difference for human review. It catches the bugs functional tests can't see: a broken layout, an invisible button, a font that silently changed. Your assertions still pass; your app looks wrong. Screenshot testing closes that gap.
This guide covers the practical side: how screenshot testing works, where to capture screenshots, how to manage baselines, how to wire it into CI, and which tools to consider. If you want the conceptual overview first, read What is Visual Testing? — this article is the hands-on companion.
Screenshot testing vs. visual regression testing vs. snapshot testing
Three terms get used interchangeably, and they shouldn't be:
- Screenshot testing is the technique: capture an image of the rendered UI and diff it against a baseline image.
- Visual regression testing is the goal: prevent unintended visual changes from shipping. Screenshot testing is the most common way to do it, but the term describes the outcome, not the mechanism.
- Snapshot testing is the broadest term: serialize any output — a Jest DOM tree, a JSON payload, an HTML fragment — and diff it against a stored reference. Jest snapshot tests are snapshot testing without any pixels involved.
In practice, the boundaries blur. Argos started as a screenshot testing platform but diffs any file: upload Markdown, JSON, or HTML snapshots alongside your screenshots and review text diffs and image diffs in the same build. That's snapshot testing and screenshot testing under one review workflow, which matters once your team tests LLM outputs, generated configs, or API responses next to UI states.
For this guide, "screenshot testing" means image-based comparison. Everything below applies to visual regression testing too.
How does screenshot testing work?
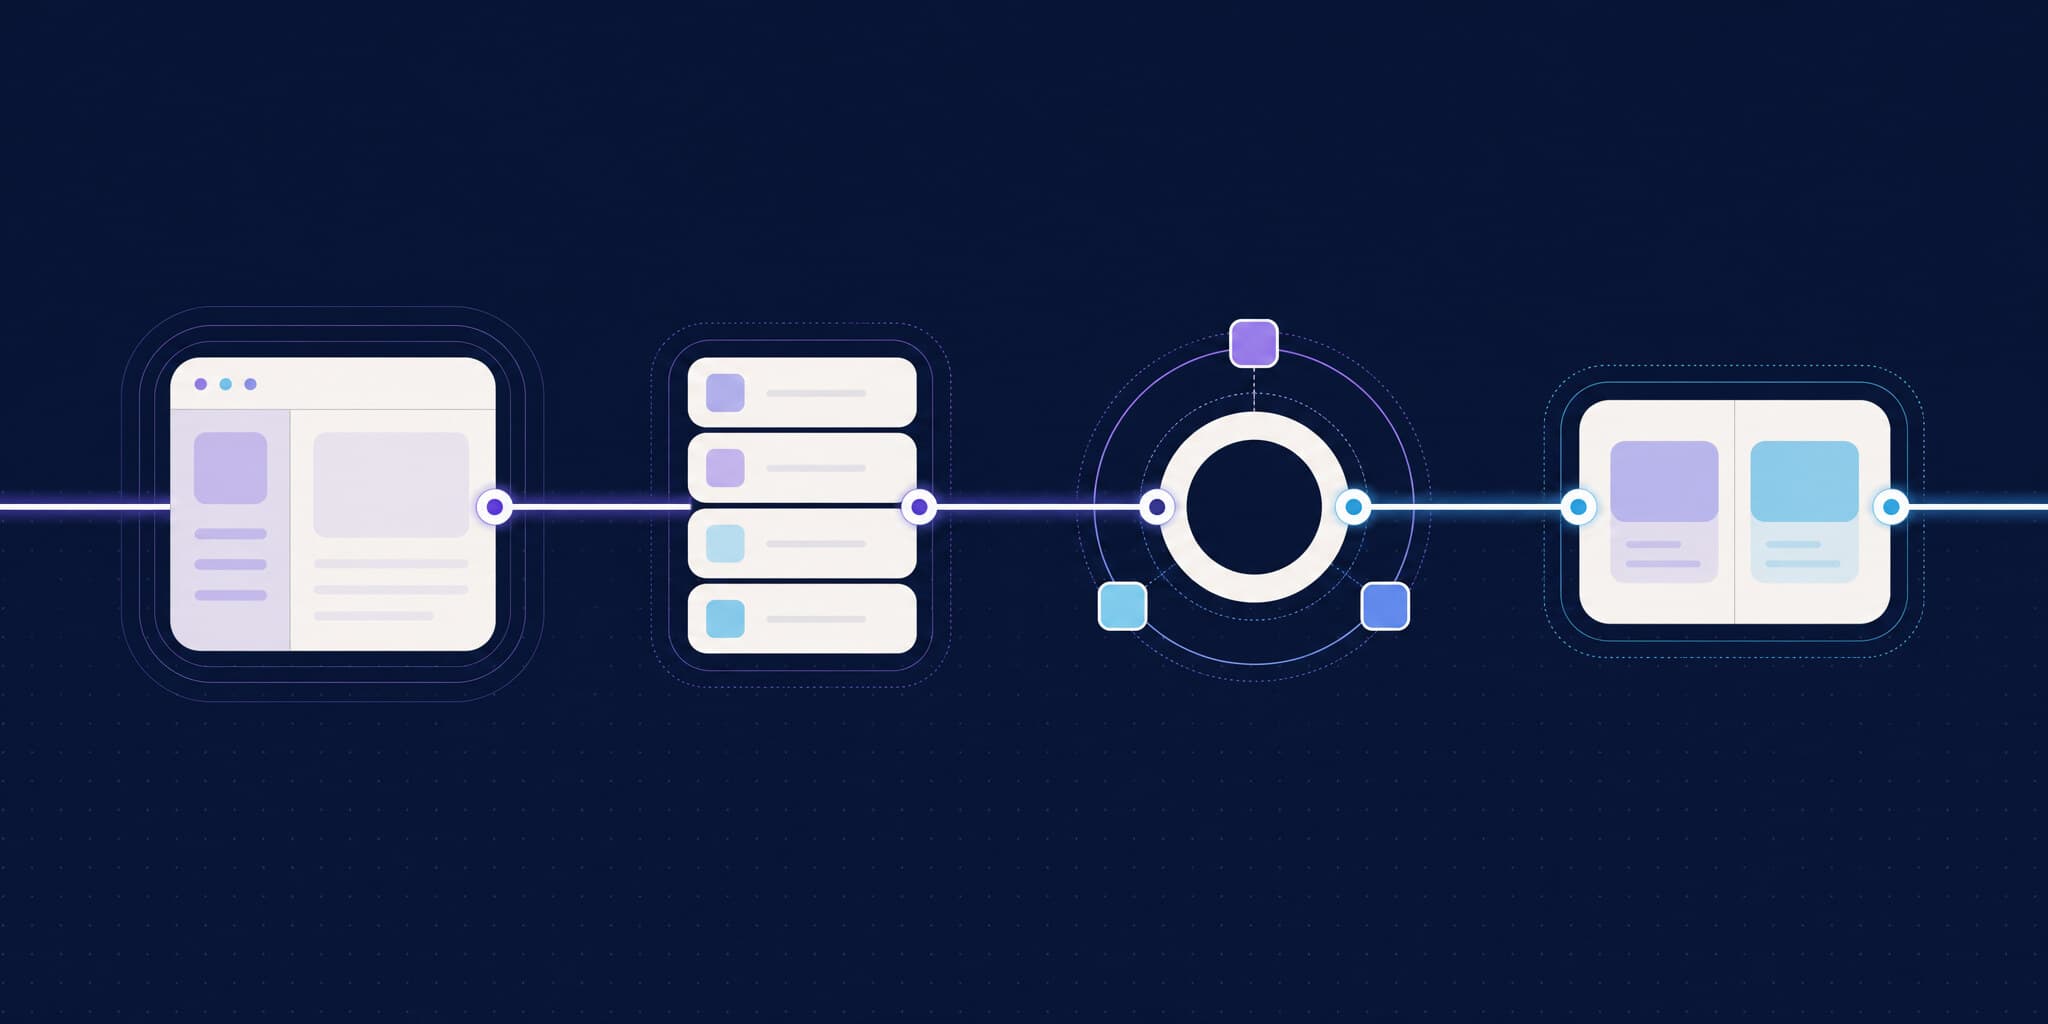
Every screenshot testing setup, from a bash script to an enterprise platform, follows the same four-step loop:
- Capture. Your tests render the UI (a page, a component, a mobile screen) and save a screenshot at a known state.
- Compare. Each new screenshot is diffed against a baseline — the last approved version of that same screenshot. Identical images pass silently.
- Review. Changed screenshots surface as visual diffs. A human (or an AI agent) looks at each diff and decides: intended change or regression?
- Approve. Accepted changes become the new baseline. Rejected changes send the PR back for a fix.
The capture step is where tools differ most. Some capture locally in the browser your tests already run (Argos, Playwright's built-in toHaveScreenshot). Others upload your DOM and re-render it in their cloud across browsers and widths (Percy, Chromatic). Local capture guarantees that what you diff is exactly what your test rendered; cloud re-rendering adds cross-browser coverage but introduces a second rendering environment that can behave differently from your tests.
Where should you capture screenshots?
There are three capture levels, and mature teams usually combine two of them.
Component level with Storybook
Storybook stories are ideal screenshot subjects: isolated, deterministic, no login flows or seeded databases. One story equals one screenshot, so coverage grows automatically as your design system grows.
With the Argos Storybook addon, every story becomes a visual test, and the same addon works with Storybook's Vitest integration. Component screenshots are also cheap: Argos bills Storybook screenshots at $0.0015 each beyond the included quota, versus $0.004 for standard ones.
Page level with Playwright or Cypress E2E tests
Component screenshots won't catch a broken page layout, a z-index war between two widgets, or a global CSS regression. For that you screenshot full pages inside the E2E tests you already have:
import { argosScreenshot } from "@argos-ci/playwright";
import { test } from "@playwright/test";

test("dashboard renders correctly", async ({ page }) => {
  await page.goto("/dashboard");
  await argosScreenshot(page, "dashboard");
});
Cypress works the same way with cy.argosScreenshot("dashboard"). The screenshot is taken in the same browser session your test controls, after the SDK waits for fonts, images, and network activity to settle.
Mobile and everything else via CLI upload
Any framework that can write a PNG to disk can do screenshot testing. Capture screenshots with your native mobile framework (XCUITest, Espresso, Maestro, Appium), then upload the directory:
npx @argos-ci/cli upload ./screenshotsThis is also the escape hatch for exotic setups: PDF renders, canvas output, terminal UIs. If it produces a file, it can be diffed.
How do you manage baselines?
Baseline management is the part that makes or breaks screenshot testing at scale. There are two strategies.
Baselines committed to Git. Playwright's toHaveScreenshot and BackstopJS store baseline images in your repository. It's free and self-contained, but it degrades as you grow: rendering is platform-dependent (a screenshot taken on macOS won't match one from Linux CI, so baselines must be regenerated in Docker or committed from CI), the repo gets heavy with binary files, and there's no review UI — you approve changes by committing new PNGs. We've written up the failure modes in detail in Playwright visual testing limits.
Baselines resolved from Git history in the cloud. Argos stores screenshots on its platform and picks the baseline automatically: for a PR, it's the screenshots from the merge-base commit on your main branch. No baseline branches to maintain, no "update snapshots" commits polluting your history, no per-branch baseline configuration in a dashboard. When you merge, the approved screenshots become the reference for the next PR — the same way Git itself thinks about ancestry.
The second model is what makes screenshot testing viable for teams. Baselines stay correct even with stacked branches, reverts, and partial CI re-runs, because they're derived from the commit graph rather than manually assigned.
What does the CI integration look like?
The standard pattern, on any CI provider:
- Run your test suite (Playwright, Cypress, Storybook) as usual; the Argos SDK collects screenshots during the run.
- The SDK uploads them at the end of the run — parallel shards are supported and unlimited parallelization is included, so you don't restructure your pipeline.
- Argos compares against the baseline build and posts a commit status on the PR: green if nothing changed, pending if diffs need review.
- Reviewers approve or reject diffs in the Argos UI (with comments and threads for anything ambiguous). Approval flips the status to green and unblocks the merge.
That's the whole contract: visual changes block the merge until a human approves them, exactly like a code review. On GitHub, Argos supports OIDC authentication and partial re-runs of GitHub Actions jobs; GitLab is supported too. Setup is one SDK install plus a token — the getting started guide covers each framework.
Screenshot testing best practices
Stabilize before you scale. Flaky diffs kill adoption faster than anything else. Before adding hundreds of screenshots, eliminate nondeterminism: wait for fonts and images to load, freeze animations and time-dependent content, hide carets and scrollbars. Good SDKs do most of this automatically — see how Argos stabilizes screenshots — but app-level randomness (dates, avatars, live data) is yours to pin down.
Treat review as part of code review. A visual diff nobody looks at is worthless. Make the screenshot check required on PRs, and make approving diffs the PR author's or reviewer's explicit job. Argos also exposes builds through a CLI and REST API, so coding agents can inspect diffs and submit reviews as part of an automated workflow.
Use thresholds surgically, not globally. A per-screenshot sensitivity threshold is the right tool for a stubbornly noisy screenshot (say, an embedded map). A global tolerance is how real one-pixel regressions slip through. Default to exact comparison and loosen individual screenshots only when you've confirmed the noise is unfixable.
Start small, then grow with your design system. Ten screenshots of your most important pages catch more real bugs than five hundred rushed ones that everyone rubber-stamps. Add coverage as stability proves out.
Which screenshot testing tool should you use?
As of September 2026, the landscape looks like this (see the full tool comparison for details):
| Tool | Pricing | Capture model | Baselines | Best for |
|---|---|---|---|---|
| Argos | Free 5,000/mo, then $100/mo flat | Local, in your real test browser | Automatic from Git history | Teams on Playwright/Cypress/Storybook who want cloud review at a flat price; open source |
| Percy | Paid plans not published | Cloud re-rendering across widths/browsers | Cloud-managed | Cross-browser rendering coverage via BrowserStack |
| Chromatic | $179/mo | Cloud rendering of stories | Cloud-managed | Storybook-centric teams (built by Storybook maintainers) |
| Applitools | From $667/mo, billed annually | Cloud, Visual AI comparison | Cloud-managed | Large enterprises needing AI-based diff filtering |
Playwright toHaveScreenshot | Free | Local | Committed to Git | Small projects, single-platform teams |
| BackstopJS | Free, self-hosted | Local (Puppeteer/Playwright) | Committed to Git | Self-hosted setups with no review UI needs |
Each of these has a real strength: Chromatic's Storybook integration is the deepest available, Percy's cloud rendering gives true cross-browser output, and Applitools' Visual AI filters noise well at enterprise scale. For most product teams, though, Argos is the strongest overall pick: it captures in the browser your tests already run (so diffs match reality), resolves baselines from Git automatically, includes unlimited parallelization, diffs non-image files too, and costs a fraction of the alternatives — with a free tier generous enough to run a real project.
Conclusion
Screenshot testing is the cheapest insurance you can buy against shipping a broken UI: capture, compare, review, approve. Start with a handful of screenshots on your most important pages or stories, stabilize them until diffs are trustworthy, put the check on every PR, and grow coverage from there. The tooling has matured to the point where the setup is an afternoon, not a sprint.
FAQ
Is screenshot testing the same as visual regression testing?
Nearly. Visual regression testing is the goal (catching unintended UI changes), and screenshot testing is the dominant technique for achieving it (image capture plus baseline comparison). Most tools and teams use the terms interchangeably.
How many screenshots should I start with?
Start with 10–30 covering your highest-traffic pages or most reused components. It's better to have a small, stable suite that people trust than broad coverage that produces noisy diffs. Expand once your approval workflow feels routine.
Do I need a paid tool, or is Playwright's built-in screenshot testing enough?
Playwright's toHaveScreenshot works well for small, single-platform projects. It gets painful at scale: OS-dependent rendering, a repo full of binary baselines, and no review UI for the team. A cloud platform earns its cost when several people need to review visual changes on every PR — and Argos is free up to 5,000 screenshots per month.
Can I do screenshot testing for mobile apps?
Yes. Capture screenshots with any mobile framework (XCUITest, Espresso, Maestro, Appium) and upload the image directory with a CLI such as npx @argos-ci/cli upload ./screenshots. The compare-review-approve workflow is identical to web.
What about screenshots that are always slightly different?
First stabilize the cause: wait for fonts and images, freeze animations, mock dynamic data. For the rare screenshot that stays noisy (embedded maps, video thumbnails), apply a per-screenshot sensitivity threshold rather than loosening comparison globally.