Vitest visual testing: Browser Mode screenshots guide
Set up visual regression testing in Vitest browser mode with toMatchScreenshot, learn where local baselines break down, and scale with a review workflow.

Vitest now supports visual testing natively: in browser mode, the toMatchScreenshot assertion captures an element or the test page and compares it pixel by pixel against a baseline image committed to your repo. It works like Playwright's toHaveScreenshot, and it hits the same wall at team scale: committed baselines, OS rendering differences, and no review workflow. This guide covers the official setup, its limits, and how to scale it with Argos.
What is Vitest visual testing?
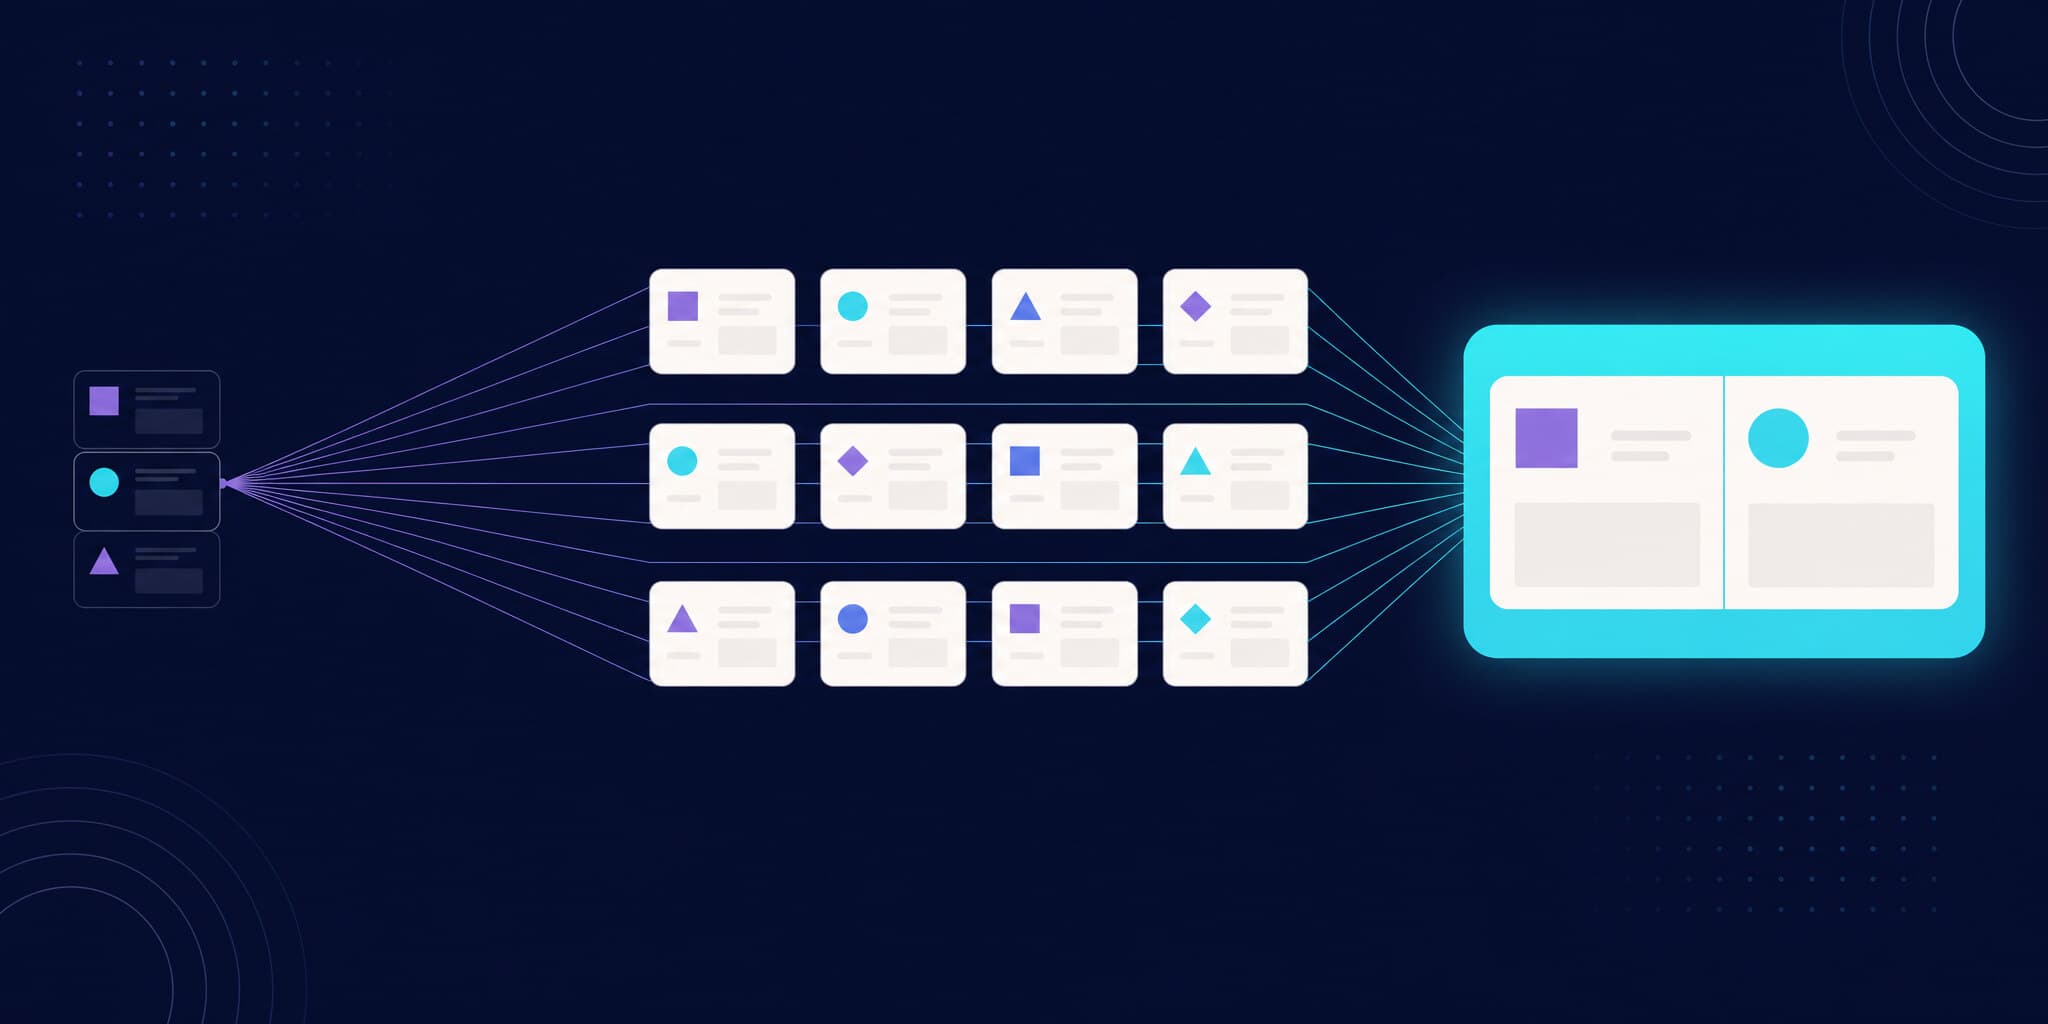
Vitest visual testing is visual regression testing built into Vitest browser mode. Your components render in a real browser (Chromium, Firefox, or WebKit via Playwright, or a WebdriverIO-driven browser), and toMatchScreenshot compares what rendered against a reference screenshot stored on disk. If pixels differ beyond a threshold, the test fails. The feature is documented in the official Vitest visual regression testing guide.
This is a meaningful shift. Until recently, "vitest visual testing" meant bolting on a third-party plugin or running a separate Playwright suite. Now the test runner you already use for unit and component tests can catch visual regressions too.
How do you set up visual testing in Vitest browser mode?
You need Vitest with browser mode enabled. The Playwright provider is the recommended option for CI and parallel execution:
npm install -D vitest @vitest/browser-playwrightThen enable browser mode in your config and tune the screenshot comparator if needed:
// vitest.config.ts
import { playwright } from "@vitest/browser-playwright";
import { defineConfig } from "vitest/config";

export default defineConfig({
  test: {
    browser: {
      enabled: true,
      provider: playwright(),
      instances: [{ browser: "chromium" }],
      expect: {
        toMatchScreenshot: {
          comparatorName: "pixelmatch",
          comparatorOptions: {
            threshold: 0.2,
            allowedMismatchedPixelRatio: 0.01,
          },
        },
      },
    },
  },
});
The comparator defaults to pixelmatch, the same pixel-diffing approach used by most local visual testing tools.
Writing your first visual test
Render your component, then assert on a locator or the whole page:
import { expect, test } from "vitest";
import { page } from "vitest/browser";
import { render } from "vitest-browser-react";
import { Hero } from "./Hero";

test("hero section looks right", async () => {
  await render(<Hero />);
  await expect(page.getByTestId("hero")).toMatchScreenshot("hero-section");
});
On the first run, Vitest creates the reference screenshot (the baseline) and fails the test on purpose, asking you to review the image before trusting it. Baselines land in a __screenshots__ folder next to your test file, with the browser and platform baked into the filename:
__screenshots__/
└── hero.test.tsx/
    └── hero-section-chromium-darwin.png
That darwin suffix matters more than it looks. Keep it in mind for the next section.
When a change is intentional, regenerate baselines with:
vitest --updateThen commit the new PNGs to Git.
Handling dynamic content
Two useful knobs for flaky areas. Pin the viewport so layout is deterministic, and mask elements that change between runs:
await page.viewport(1280, 720);

await expect(page.getByTestId("profile")).toMatchScreenshot({
  screenshotOptions: {
    mask: [page.getByTestId("last-seen")],
  },
});
With the Playwright provider, Vitest also disables CSS animations automatically during the assertion and retakes screenshots until the page is visually stable. That is solid engineering, and it eliminates a real class of flakiness. See our guide on stabilizing screenshots for what else can move under your feet.
Where does local Vitest visual testing break down?
Vitest's model is the same as Playwright's toHaveScreenshot: local baselines committed to Git. That model is great for a solo developer and gets painful in a team, for reasons that have nothing to do with Vitest itself. We wrote about this pattern in detail for Playwright in Why Playwright visual testing doesn't scale; everything there applies here.
Baselines are OS-specific. Remember hero-section-chromium-darwin.png? Fonts render differently on macOS, Linux, and Windows, so a baseline generated on your MacBook fails in your Linux CI. The Vitest docs say so plainly, calling font rendering "the big one" and recommending you run tests in "the same environment everywhere," suggesting Docker containers or cloud services. In practice that means either every developer regenerates baselines inside Docker, or only CI is allowed to update them, and both workflows add friction.
Baselines live in your repo. Every intentional UI change means regenerating PNGs, committing them, and polluting your diffs with binary files. Two branches touching the same component means merge conflicts on images.
There is no review workflow. A failed assertion gives you images on disk. There is no UI where a teammate looks at the before/after, comments on a spacing regression, and approves the change from the pull request. Whoever runs vitest --update is the review.
None of this is a knock on Vitest. toMatchScreenshot is well designed for its scope. The limits come from the local-baseline model, and the fix is to change the model, not the tool.
Scaling Vitest visual testing with Argos
Argos flips the model: screenshots are still captured locally, in the real browser your Vitest tests already run, but they are uploaded to Argos instead of committed to Git. Argos picks the baseline automatically from your Git history, computes stabilized diffs, and posts the result on your pull request where your team reviews and approves changes with a click. No PNGs in the repo, no --update round-trips, no OS mismatch between your laptop and CI because baselines always come from CI builds.
There are two ways to plug Argos into a Vitest setup, depending on whether you use Storybook.
Any Vitest setup: the Argos Vitest SDK
Argos ships a dedicated Vitest SDK, @argos-ci/vitest. Add the plugin to your Vitest config:
// vitest.config.ts
import { argosVitestPlugin } from "@argos-ci/vitest/plugin";
import { defineConfig } from "vitest/config";

export default defineConfig({
  plugins: [
    argosVitestPlugin({
      uploadToArgos: !!process.env.CI,
    }),
  ],
});
Then capture screenshots in your browser tests with argosScreenshot — it stabilizes the UI (fonts, images, animations, hover states) before capturing, and supports multiple viewports, ARIA snapshots, and tags:
import { argosScreenshot } from "@argos-ci/vitest";
import { test } from "vitest";
import { render } from "vitest-browser-react";

import { Hero } from "./Hero";

test("hero section", async () => {
  await render(<Hero />);
  await argosScreenshot("hero-section");
});
The SDK also provides argosSnapshot to diff any value — API responses, JSON, generated HTML, Markdown — from browser or plain Node tests, no browser required. The plugin uploads everything at the end of the CI run; setup details are in the Vitest Quickstart.
If you use Storybook: the Vitest addon
Argos ships first-class support for Storybook's Vitest-powered testing through @argos-ci/storybook. Add the plugin to your Vitest config:
// vitest.config.ts
import { argosVitestPlugin } from "@argos-ci/storybook/vitest-plugin";
import { defineConfig } from "vitest/config";

export default defineConfig({
  plugins: [
    argosVitestPlugin({
      uploadToArgos: !!process.env.CI,
    }),
  ],
});
Every story tested by the Storybook Vitest addon gets captured and uploaded automatically. You can also take extra screenshots mid-interaction inside play functions:
import { argosScreenshot } from "@argos-ci/storybook/vitest";

export const FilledForm: Story = {
  play: async (ctx) => {
    await argosScreenshot(ctx, "before-fill");
    // ...interact with the form...
    await argosScreenshot(ctx, "after-fill");
  },
};
If you are weighing this against Chromatic's cloud rendering (Chromatic for Vitest has been generally available since September 2026), see Storybook visual testing without Chromatic.
Either way, set ARGOS_TOKEN as a CI secret and Argos handles the rest: baseline selection from Git history, diffing, and the PR status check.
Local Vitest VRT vs. a cloud review workflow
Here is the comparison. Local toMatchScreenshot is free, has zero external dependencies, and is perfect for a solo project or a handful of stable snapshots. A cloud review workflow costs money and adds a service, but removes baselines from Git, makes diffs reviewable by the whole team, and keeps rendering consistent because comparisons always happen against CI-captured baselines.
Vitest toMatchScreenshot (local) | Vitest + Argos | |
|---|---|---|
| Baselines | PNGs committed to Git | Auto-selected from Git history, stored in Argos |
| Cross-OS consistency | Manual (Docker or CI-only updates) | Baselines always from CI |
| Review workflow | None (files on disk) | PR checks, visual diff UI, one-click approval |
| Team collaboration | Merge conflicts on images | Threads, comments, review states |
| Approving a change | Re-run with --update, commit PNGs | Click "Approve" in the PR |
| Cost | Free | Free up to 5,000 screenshots/month, then $100/mo flat Pro plan |
The switch point is usually the second developer, or the first time a Linux CI run rejects baselines generated on macOS. If you are fighting flaky diffs before that, start with fixing flaky visual tests; if you are fighting the model itself, switch models.
FAQ
Does Vitest support visual regression testing?
Yes. As of Vitest browser mode's visual regression testing support, the toMatchScreenshot assertion captures elements or pages in a real browser and compares them against committed baseline images using pixelmatch. It is documented in the official Vitest guide and requires browser mode with the Playwright or WebdriverIO provider.
Where does Vitest store screenshot baselines?
In a __screenshots__ directory next to each test file, organized per test file. Filenames include the test name, browser, and platform (for example hero-section-chromium-darwin.png), because rendering differs across operating systems. Baselines are meant to be committed to version control.
How do I update Vitest screenshot baselines?
Run vitest --update to regenerate reference screenshots, then commit the new images. In a team, do this in a consistent environment (Docker or CI) so baselines are not tied to one developer's OS. With Argos, this step disappears: you approve the new look in the PR instead of committing images.
Is there a dedicated Argos SDK for Vitest?
Yes. @argos-ci/vitest captures screenshots in Vitest browser tests with argosScreenshot, snapshots any value with argosSnapshot (browser or Node tests, no browser required), and uploads everything to Argos at the end of the run via a Vitest plugin. Read the announcement or the Vitest Quickstart.
Do I need Storybook to use Argos with Vitest?
No. The @argos-ci/vitest SDK works with any Vitest browser mode setup. If you do use Storybook, the @argos-ci/storybook package builds on the same integration and captures every tested story automatically. The workflow, baselines, diffs, and PR review is identical either way.
Conclusion
Vitest browser mode's toMatchScreenshot is the real thing: an official, well-built visual regression assertion in the test runner you already use. Start there. When committed baselines, OS-specific rendering, and reviewless updates start costing your team time, keep your Vitest tests exactly as they are and move the comparison to Argos with the @argos-ci/vitest SDK. Local capture in the browser you already run, a real review workflow on top.